

As the market stall has a side part where the floor is totally visible, I decided I wanted to go have a go at making my own clay tiles! Now I am venturing into hubby's domain here and I must say, he's only helpful when it comes to criticism LOL He will happily tell me where I am going wrong or how awful it looks, but he's not so forthcoming with advice on how 'get' the look!!! Men ;0)
Anyway, out came the clay (Terracotta colour Air Drying Clay) and I started to roll it out (like pastry) with a small rolling pin... only to find it stuck to the rolling pin and broke up in patches!! After half an hour or so of re-rolling again and again, and some not very lady-like words(!) hubby finally 'suggested' that I add some water to the clay!
Now this worked :0)
With wet hands, I could smooth and coax the clay into the bumpy and sloping floor I wanted and then I 'borrowed' one of hubby's shaping tools and marked out my 'cobbles'... which was met with fits of laughter from hubby! :0(

Ok, it's not as good as his cobbles, but he's had years of practice and I didn't think they were that bad?!
Anyway, my poor cobbles were so upset by his uncharitable laughter that they disappeared right back into the clay and I started again... this time with help of a Bromley Crafts flagstone template that I found buried in his workbox!
The templates are designed to be used with brick compound and not with clay. So I pressed the template hard into the clay and then gently peeled it back up. This gave me a feint line of the flagstones which I could use as a guide for most of the flagstones. Some didn't show through, but it was easy from here to judge how the missing flagstones should look in size and shape. I used the shaping tool again to mark out the lines and ok, I agree, they do look better like this!

I had intended to leave it dry overnight, but I was bored after an hour, so I dug out my Jacobean Woodstain that I had used on the woodwork and applied a coat to the clay, leaving some thicker areas in between the flagstones in patches. I was really pleased with look and this time I did leave it alone to dry properly.

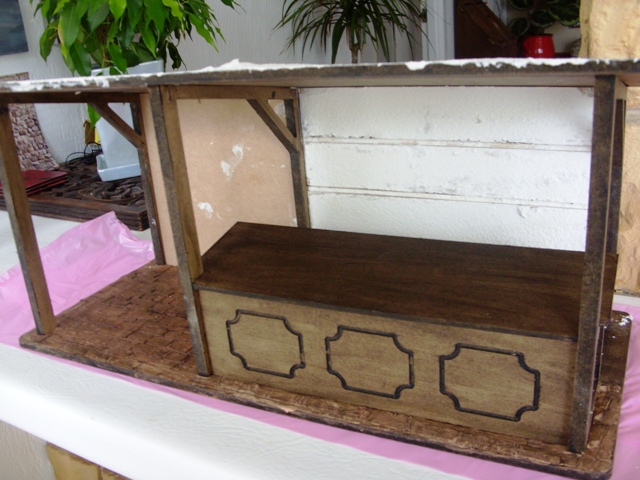
The photo below, shows it the next day, when it has totally dried out :0)
I have left the side that is hidden behind the stall itself as plain stained wood. I may add wooden floor planks here in the future.

and this it with the market stall in situ. I think it looks ok for a first (or second) attempt at doing my own flooring... look out hubby... lock up your clay, I know how to do it now ;0) LOL
Julia xxx
This is post copyright to the author. It may not be re posted, reprinted or distributed without express written permission of the author.